配置项
创建 Admin 用户
输入 your_domain/init 进入初始化页面,输入用户名和密码即可创建 Admin 用户。
添加服务器
创建服务器
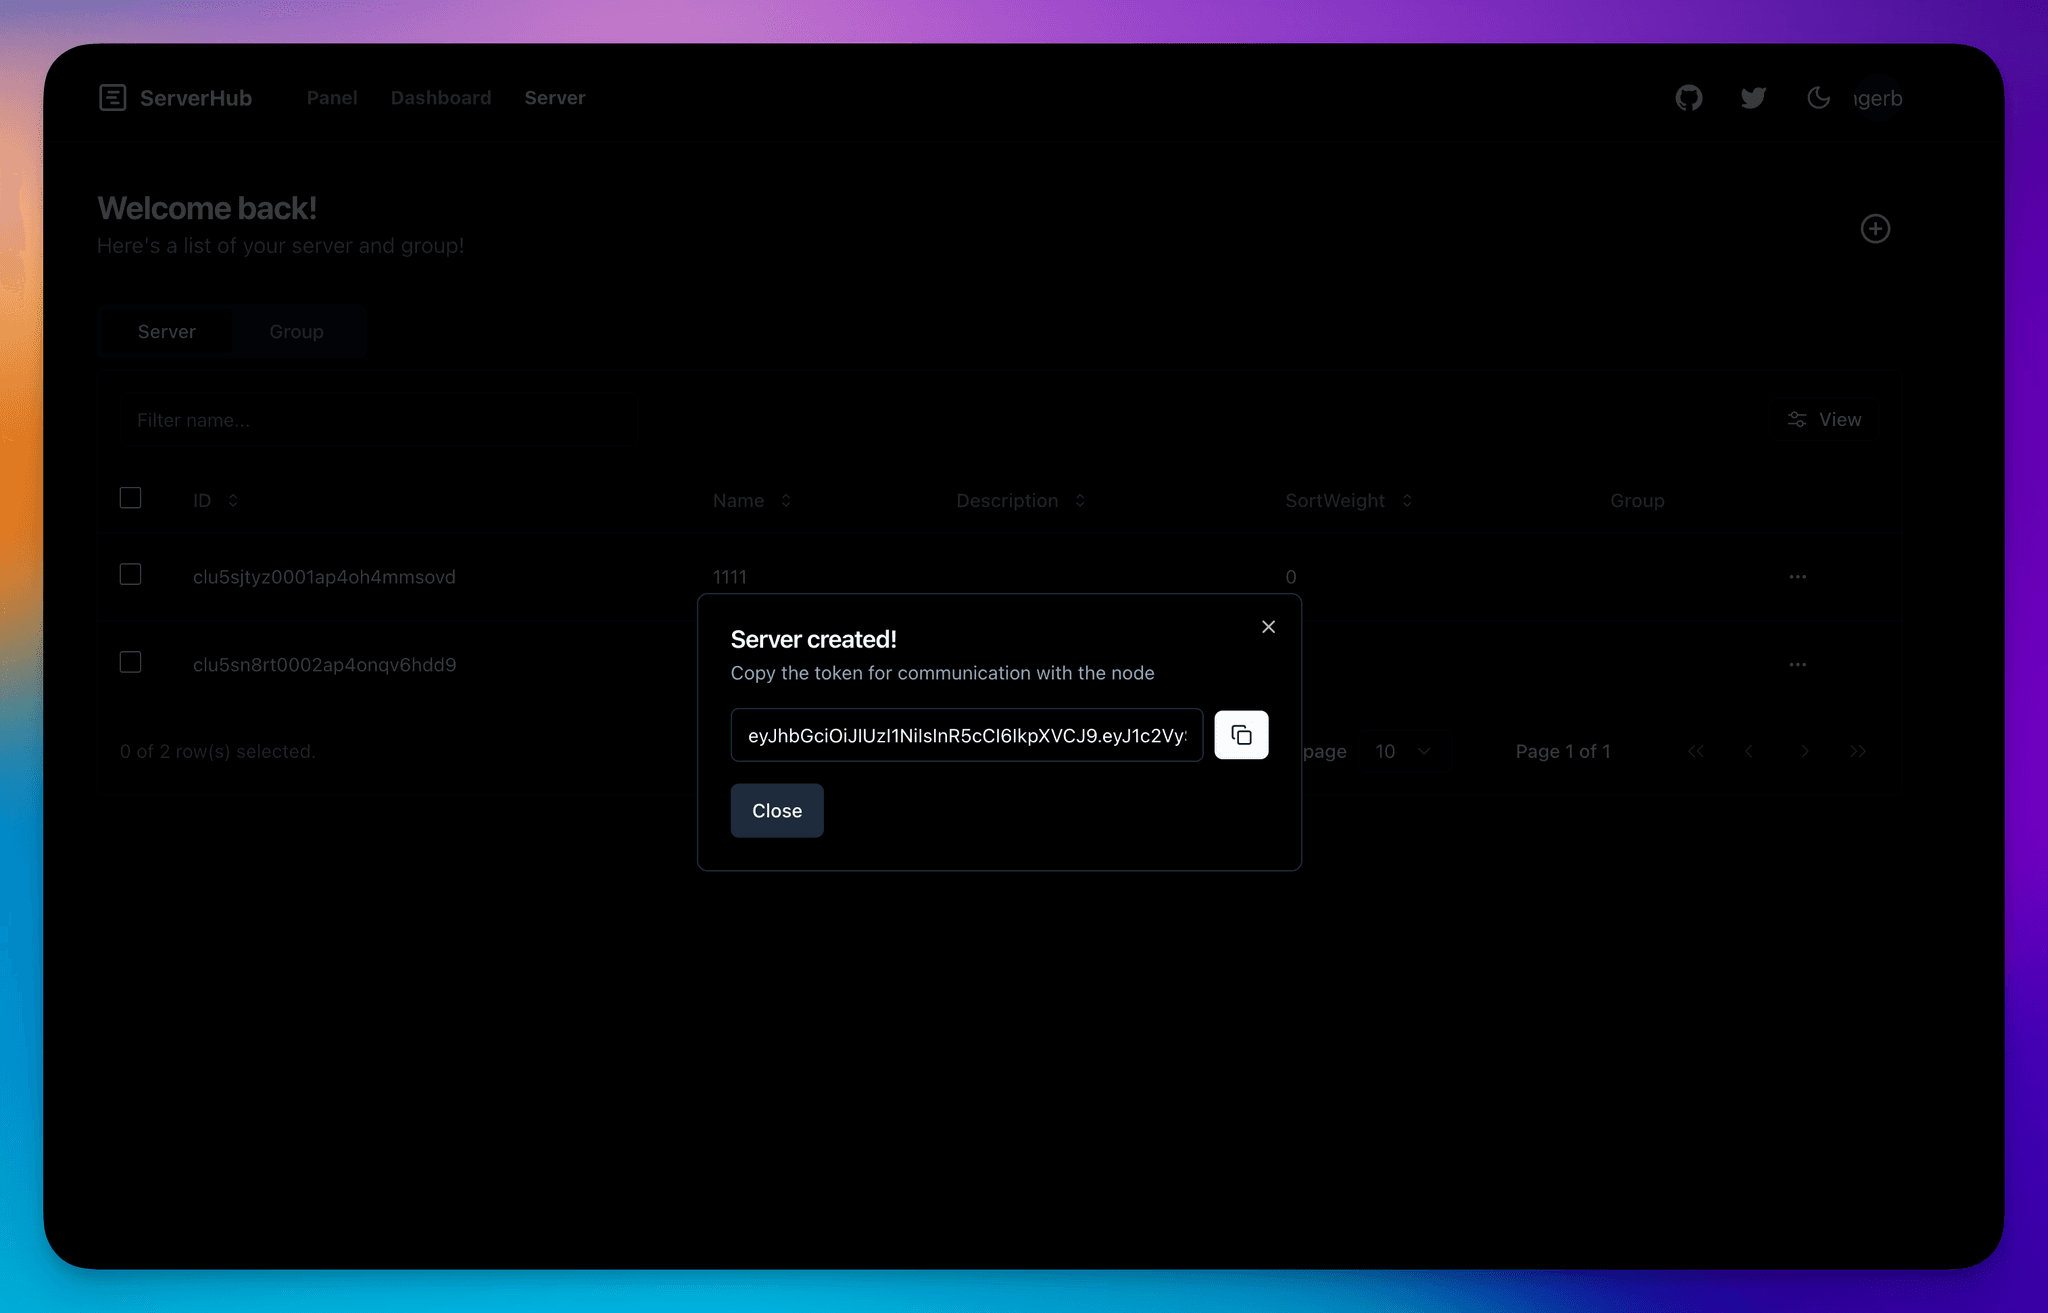
在 ServerHub server 页面中,添加服务器,确认之后会自动生成 Token。
复制 Token

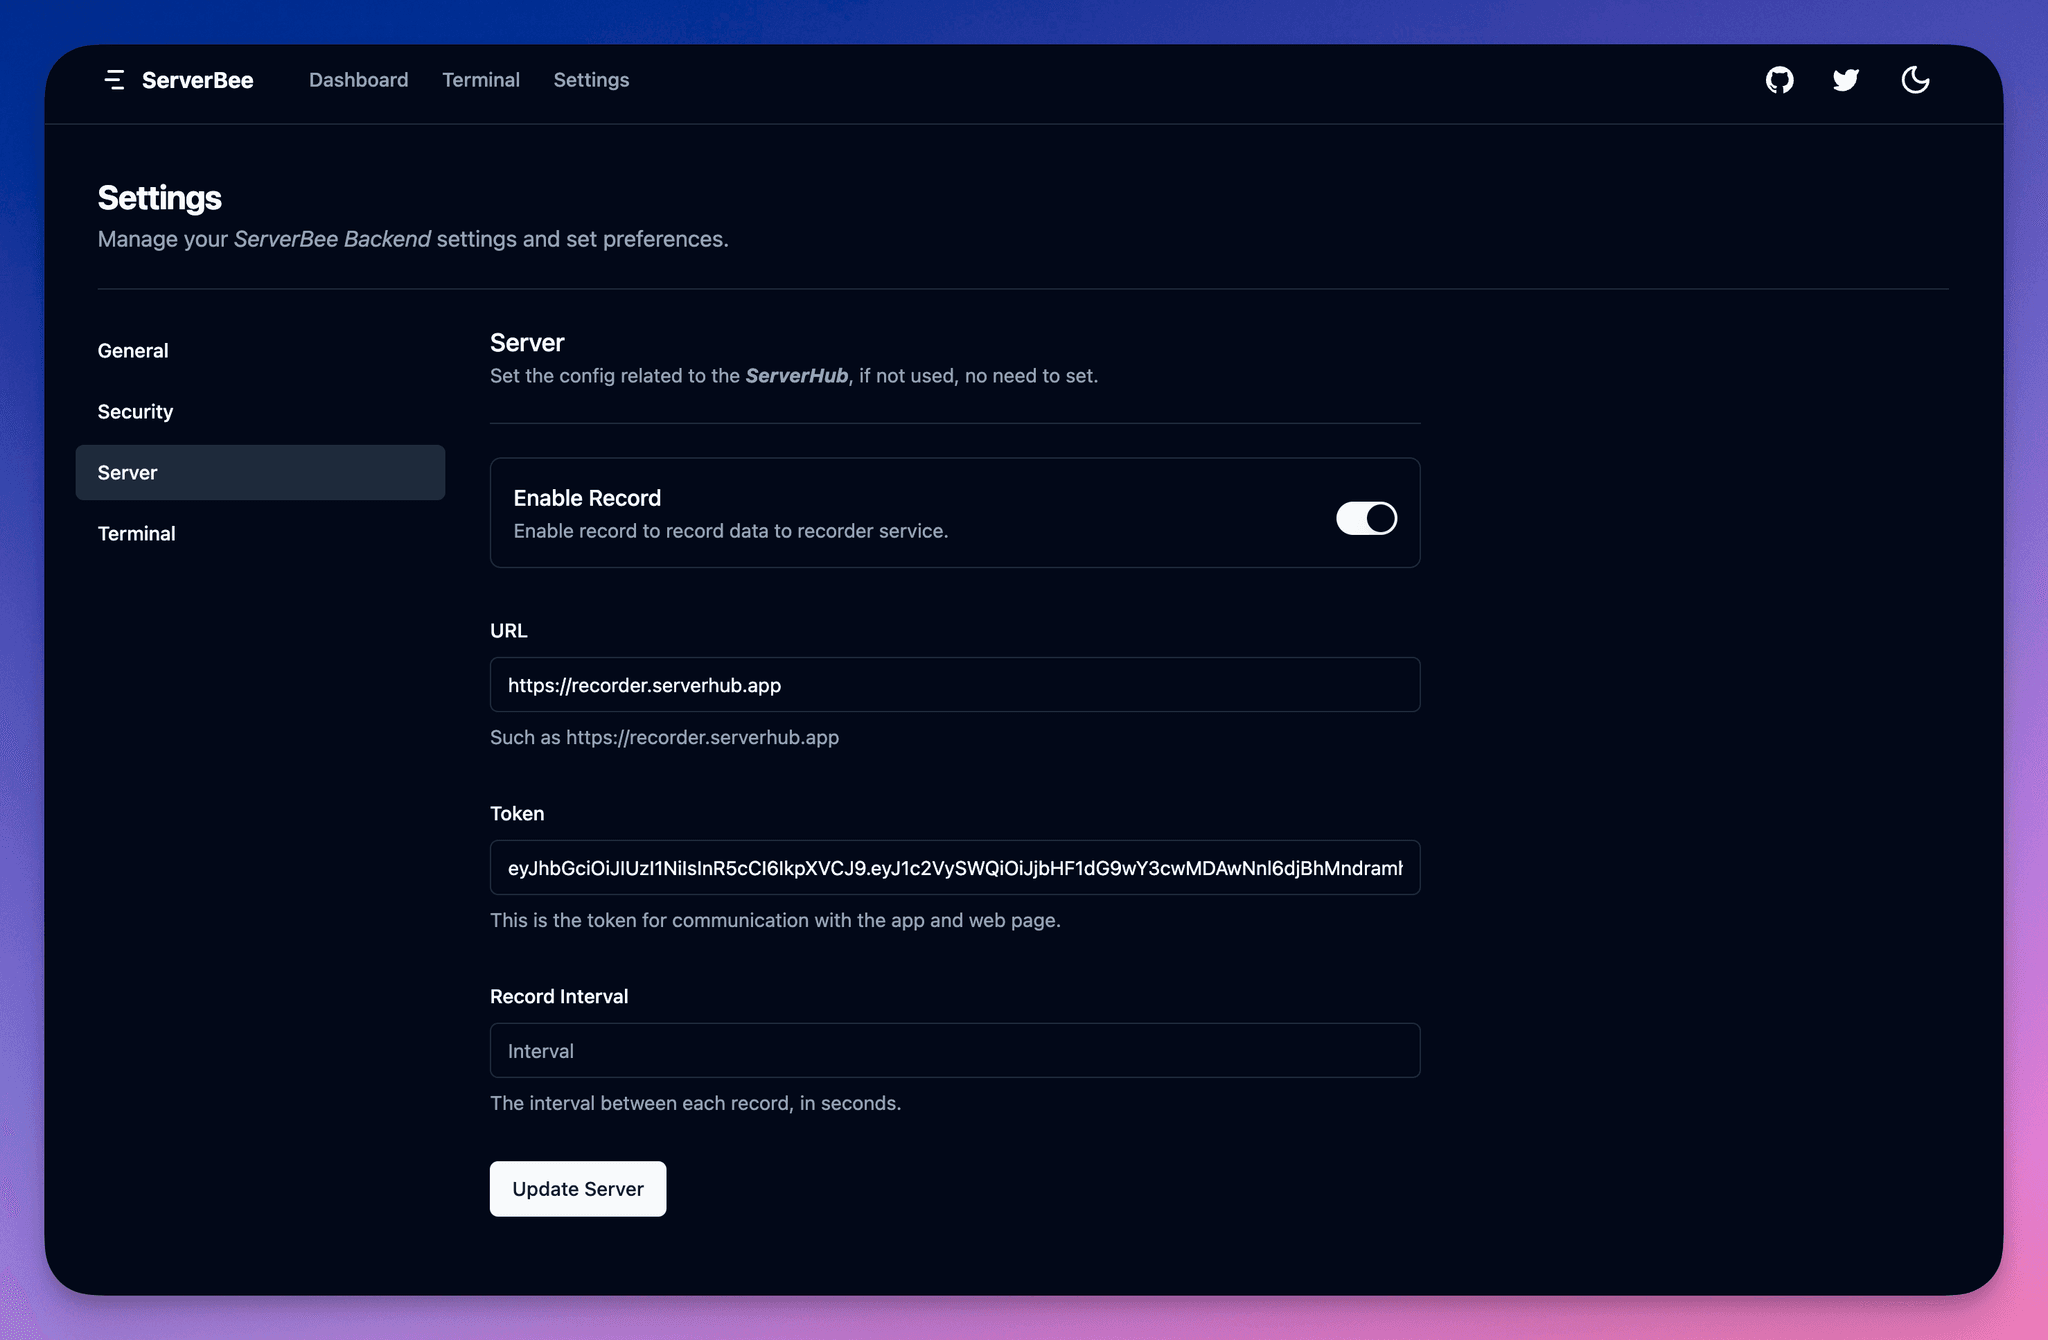
将 Token 填写到 ServerBee Web 服务中

💡
可以通过 Record Interval 字段设置上传间隔时间,单位为秒。
修改环境变量
在 server_bee-backend/docker/.env 文件中修改环境变量,然后重新运行一键脚本选择 2 更新即可重新安装。
如果没有使用一键脚本,可以手动重新运行。
docker-compose down
docker-compose up -d
.env
RUST_LOG=waring

# Next Auth
# You can generate a new secret on the command line with:
# openssl rand -base64 32
NEXTAUTH_SECRET="Your_NextAuth_Secret_Key"
# ServerHub URL
NEXTAUTH_URL="https://serverhub.app"

# MongoDB
MONGO_INITDB_ROOT_USERNAME=mongoadmin
MONGO_INITDB_ROOT_PASSWORD=secret
MONGODB_URI=mongodb://mongoadmin:secret@mongo:27017/

# Server JWT
SERVER_JWT_SECRET="Your_Server_Secret_Key"

# Interactor
AUTH_SERVER_URL="hub:3000/api/user/auth"
SERVICE_URL="hub:3000/api/server"

# Web (optional if you don't want to get the status of local server)
SERVER_HOST="recorder:9528"
# Get from the ServerHub, also can set by settings of ServerBee Web dashboard
SERVER_TOKEN="Your_Server_Token"
Caddyfile
{
    # turn on if your want SSL
    auto_https off
}

:80, :443 {
    # replace host with your recorder domain
    @recorder host recorder.serverbee.app
    reverse_proxy @recorder recorder:9528

    # optional
    # @web host web.serverhub.app
    # reverse_proxy @web web:9527

    route /api/i/* {
        uri strip_prefix /api/i
        reverse_proxy interactor:9529
    }

    reverse_proxy hub:3000
}